
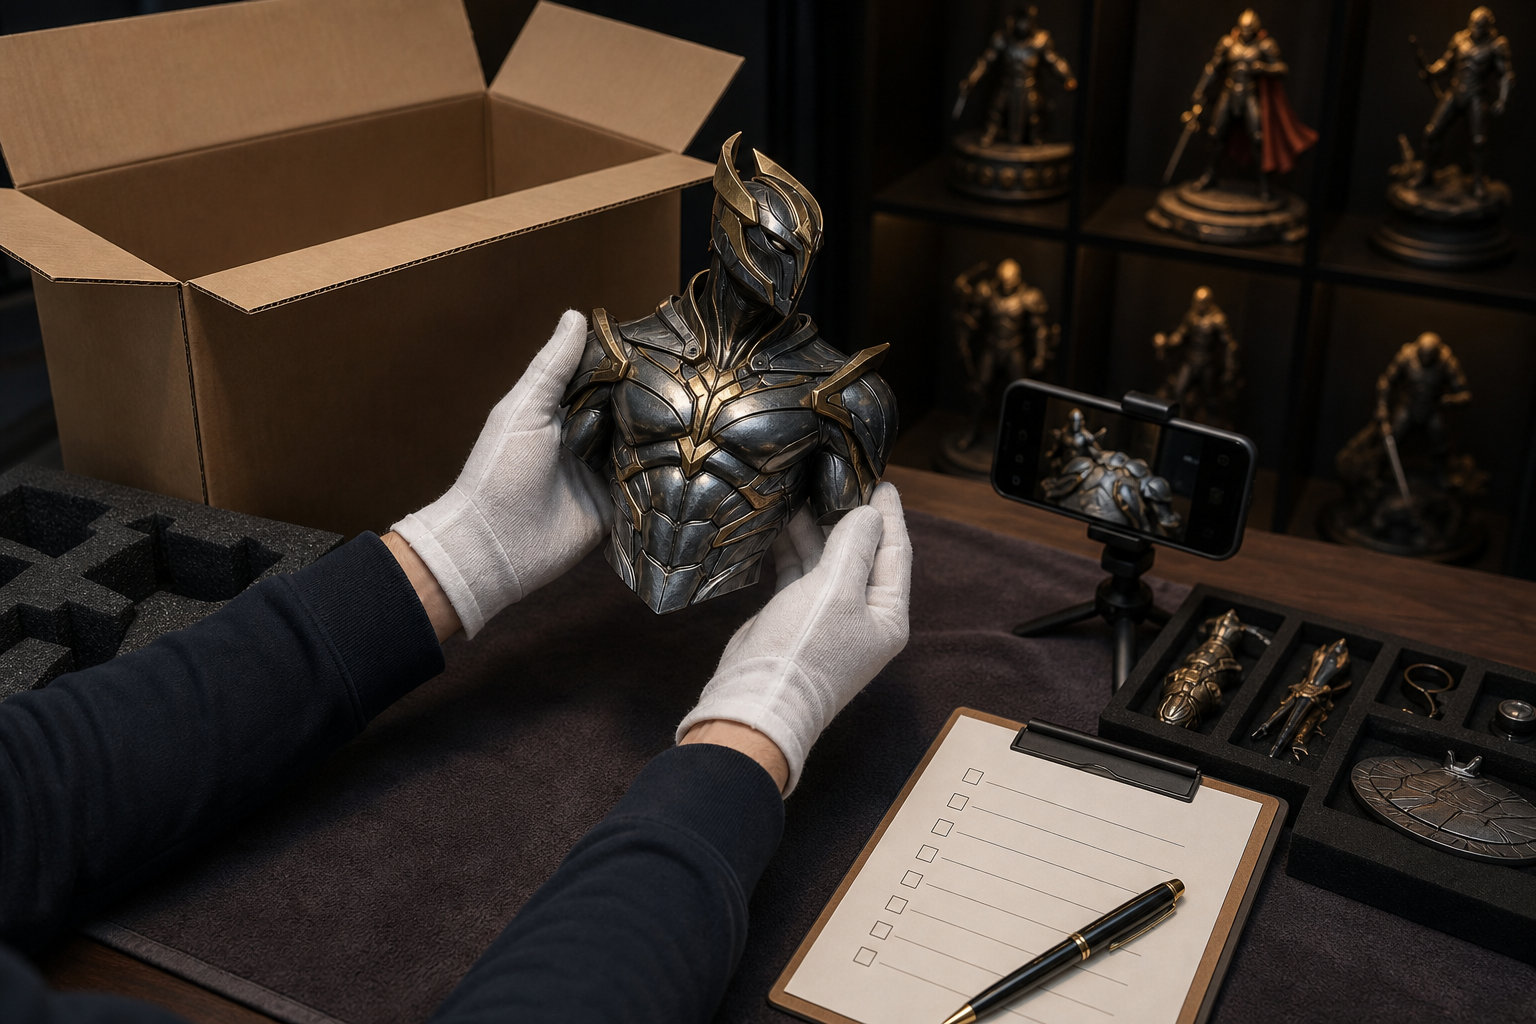
The best time to find a problem with a premium statue is before the packing material leaves the room. A deliberate premium statue unboxing checklist protects the collectible, preserves useful evidence, and keeps the retailer's support window from closing while the box remains unopened.
This is not a hunt for microscopic flaws. Hand-finished collectibles can show small variations. The goal is to confirm that the correct piece arrived, every listed component is present, the statue can be assembled as instructed, and no transit damage or production defect needs prompt support.
Before opening anything, read the exact seller's current return and replacement terms. Policies vary by retailer and purchase channel. Sideshow, for example, tells direct customers to inspect limited collectibles promptly, identifies a 30-day return-and-exchange window for eligible direct purchases, and requests photographs of both the issue and packaging when damage is reported. Those terms do not automatically apply to another seller.
Prepare the inspection area before cutting the carton
Clear a stable table large enough for the base, body, accessories and packaging. Cover it with a clean, soft, non-shedding pad. Keep food, drinks, pets and loose tools away. Good diffuse light matters: strong enough to reveal paint or seam problems, but not so harsh that glare hides the surface.
Have the order record, product listing, official assembly instructions, phone camera and a few small trays ready. If the maker specifies two or more people for assembly, stop until that help is available. Sideshow's instruction directory exists because some collectibles require product-specific assembly; the generic photograph on a retail page is not a substitute for the maker's sequence.
Photograph the unopened shipper from all sides before cutting tape. Capture the shipping label privately for your own records, but crop or redact personal information before sharing an image publicly. Record punctures, crushed corners, water marks or retaping. Then open the carton without driving a blade deep enough to reach the art box.
Document each packaging layer in order
Take one wide photo each of the outer carton, art box, inner foam or tray, and the layout immediately after opening. If a return becomes necessary, this sequence shows how the piece arrived and helps you recreate the packing order.
Do not throw away the brown shipper, art box, foam, tissue, plastic bags, straps or small protective blocks during inspection. Sideshow's current support guidance asks for photographs of the shipping carton, art box and inner packaging when evaluating damage, and says returns should include the original packaging and components. A different retailer may require something else, so preserve everything until its deadline has passed and the statue has remained stable on display.
Use the packing list or official product page to count portraits, hands, weapons, batteries, adapters, certificates and edition cards before assembly. Place small parts in separate trays. Photograph any edition number or product identifier without posting a certificate code that could be misused.
How to inspect a collectible statue after delivery
The damage inspection should be methodical, not aggressive. Lift large parts by their strongest structural areas, following the maker's directions. Avoid grabbing a weapon, fingertip, cape edge, fabric detail or other projection. Clean dry hands are suitable for many pieces; clean lint-free gloves can reduce fingerprints on smooth painted or metal surfaces, but loose gloves can also reduce grip. Follow the manufacturer's material-specific advice.
Work systematically from base to portrait:
- Check the base sits level and that its underside, edition marking and feet are intact. - Look across painted surfaces under diffuse light for cracks, chips, rubs, glue separation or unusual color transfer. - Compare every key, peg and magnet with the official instructions before applying pressure. - Inspect thin accessories from more than one angle for bends or fractures. - Confirm tailored clothing, silicone areas, rooted hair and electrical features only as the instructions permit. - Photograph both a close view of any concern and a wider view that identifies its location.
Do not force a connection because the promotional photo suggests where it belongs. Stop when a keyed part resists, sits at an unexpected angle, or would need bending. Recheck the orientation and instruction sheet. A small gap can be intentional; pressure can turn uncertainty into damage.
Assemble only after the condition record is complete
Once every component has been counted and photographed, assemble the statue in the documented order on the padded surface. Keep unused accessories in their labeled cavities. Test lights or moving elements only with the specified power source, battery type and sequence.
Take four finished photographs: front, back, each side, plus close views of delicate joins. This becomes a dated condition baseline for later care, insurance documentation, a move, or a resale listing. It also makes it easier to notice a new lean, paint transfer or joint change instead of relying on memory.
Move the assembled piece only if the instructions support doing so. Large statues may need to be carried as separate components. Before placing it in a cabinet, confirm the shelf is level, stable and rated for the assembled weight. The DiecastFigures display-planning guide covers cabinet clearance and shelf load, while the statue preservation guide covers light, humidity, dust and longer-term handling. Browse the collector catalog when you are ready to research another exact piece.
If you find damage, pause before attempting a repair
Leave the affected part in a safe position. Do not glue, sand, heat, repaint or bend it unless the seller or manufacturer gives written direction. A home repair can obscure the original condition and may change available remedies.
Save the order number, delivery date, product identifier, packaging photographs, wide and close damage photographs, and a short factual description. Contact the seller through its official support route within the applicable deadline. State what arrived, where the issue is, and whether assembly stopped. Avoid diagnosing the manufacturing cause unless you have evidence.
For a private-party or marketplace purchase, support rights may be different. Sideshow's outside-seller guidance recommends requesting out-of-box photographs, the base and edition number, confirming the seller's return policy, and considering shipping insurance before purchase. Those checks belong before payment; after delivery, the written transaction terms control.
Keep the evidence without turning the box into furniture
After the statue passes inspection, store the packing diagram and condition photos with the receipt. Label accessory cavities so the next pack-down follows the original layout. Sideshow's care guidance recommends original packaging for storage or moving, which is especially useful for fitted foam designed around fragile projections.
The practical rule is simple: document first, count second, inspect third, assemble from the official instructions, and contact the actual seller promptly when something is wrong. A calm first hour gives both the collectible and its owner the best chance of a clean resolution.
DiecastFigures does not sell, ship or service collectibles. Retailers and manufacturers control product specifications, support, returns, replacements and warranties. Policies and links were reviewed September 2, 2026; verify the current terms for your exact seller and order.
See an error? Request a correction.